This extremely satisfying instrument can be made in less than 20 minutes.
A random piece of not-too-thick board. In the photos it’s a piece of 3/8″ plywood that I had lying around, about 4 by 7 inches.
A random piece of narrow wood that’s about as long as the board is wide. I had a little bit of oak left over from another project, about 4 inches long by 5/8″ wide by 3/8″ thick.
A random thin stick.
Popsicle sticks. If you live in a house with a child, finding these is not going to present a problem.
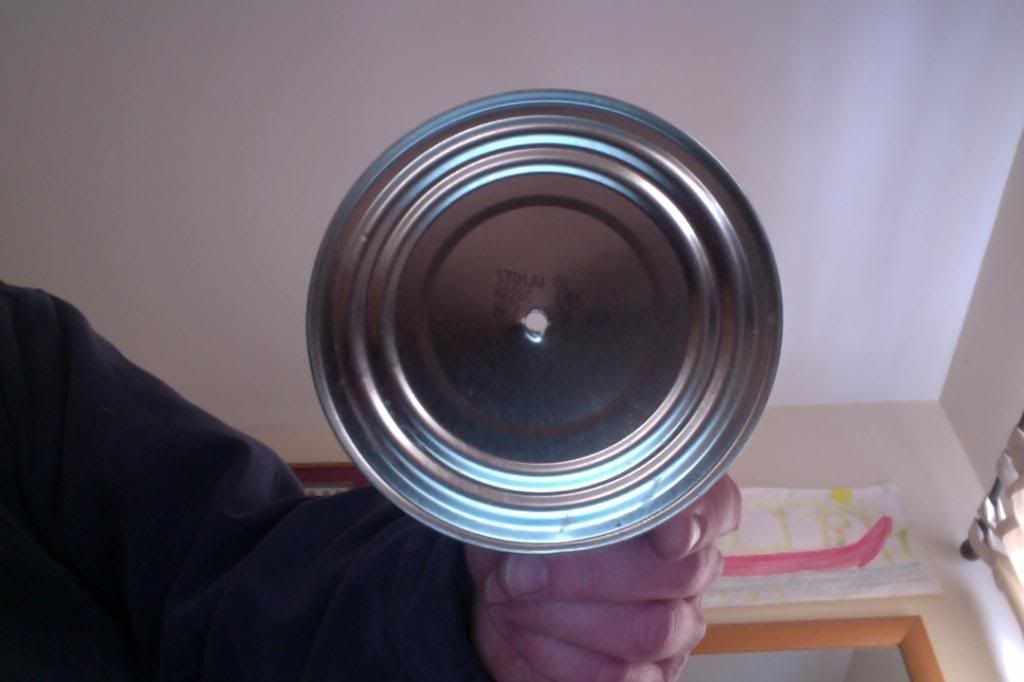
A tin can.
Hardware. Specfically, three machine screws or bolts, two small washers, four large washers, and three wingnuts (the hardware kind, not the political kind!).
Tools. Specifically, a drill & 1/8″ bit.
PREPARING THE BOARD:
Drill matching holes in the board and the piece of narrow wood:

Also drill another hole through the lower center of the board.
Attaching the BRIDGE BLOCK.
Put the small washers on the bolts, then put them through the holes in the board & wood piece:

On the underside of the board, put the large washers on the bolts, then the wingnuts. Tighten only a few turns.


ASSEMBLING THE BRIDGE
Cut or break the random thin stick into two pieces a little shorter than the board is wide. Hold them on either side of the bridge block:
Insert the popsicle sticks OVER the thin sticks and UNDER the bridge block:

Tighten until the popsicle sticks start to flex a tiny bit under the pressure from the bridge block:

ATTACHING THE RESONATOR
Drill a hole in the middle of the bottom of the tin can.
Put a large washer on the third bolt, put it through the hole in the bottom of the board, and through the hole in the tin can.

Put the last large washer on the bolt, and add the wingnut. Tighten up nicely.

Congratulations! You’re done!
